
Hello 12 X 12 Cardstock Shop Fans! This is Christi from Scrapping For Tranquility I wanted to stop in a share a tutorial for a Patriotic Tealight Candle Holder I made for the 4th of July. They were the centerpieces on my picnic tables outside, and boy, they were a huge hit!
I got to thinking, if I had so many that liked them at my party, maybe you all would like to see how I made them and tuck it away for your next patriotic holiday. I set out to make one more to to show you what I did.

First off, this is a lovely SVG file from Dreaming Tree. Please take the time to sign up for their newsletter, it will let you know about all the new releases and contests. I just love all their files and buy a lot of them. I truly appreciate the free files also and use them quite often. You can get this file here for under $1: Patriotic Tealight.
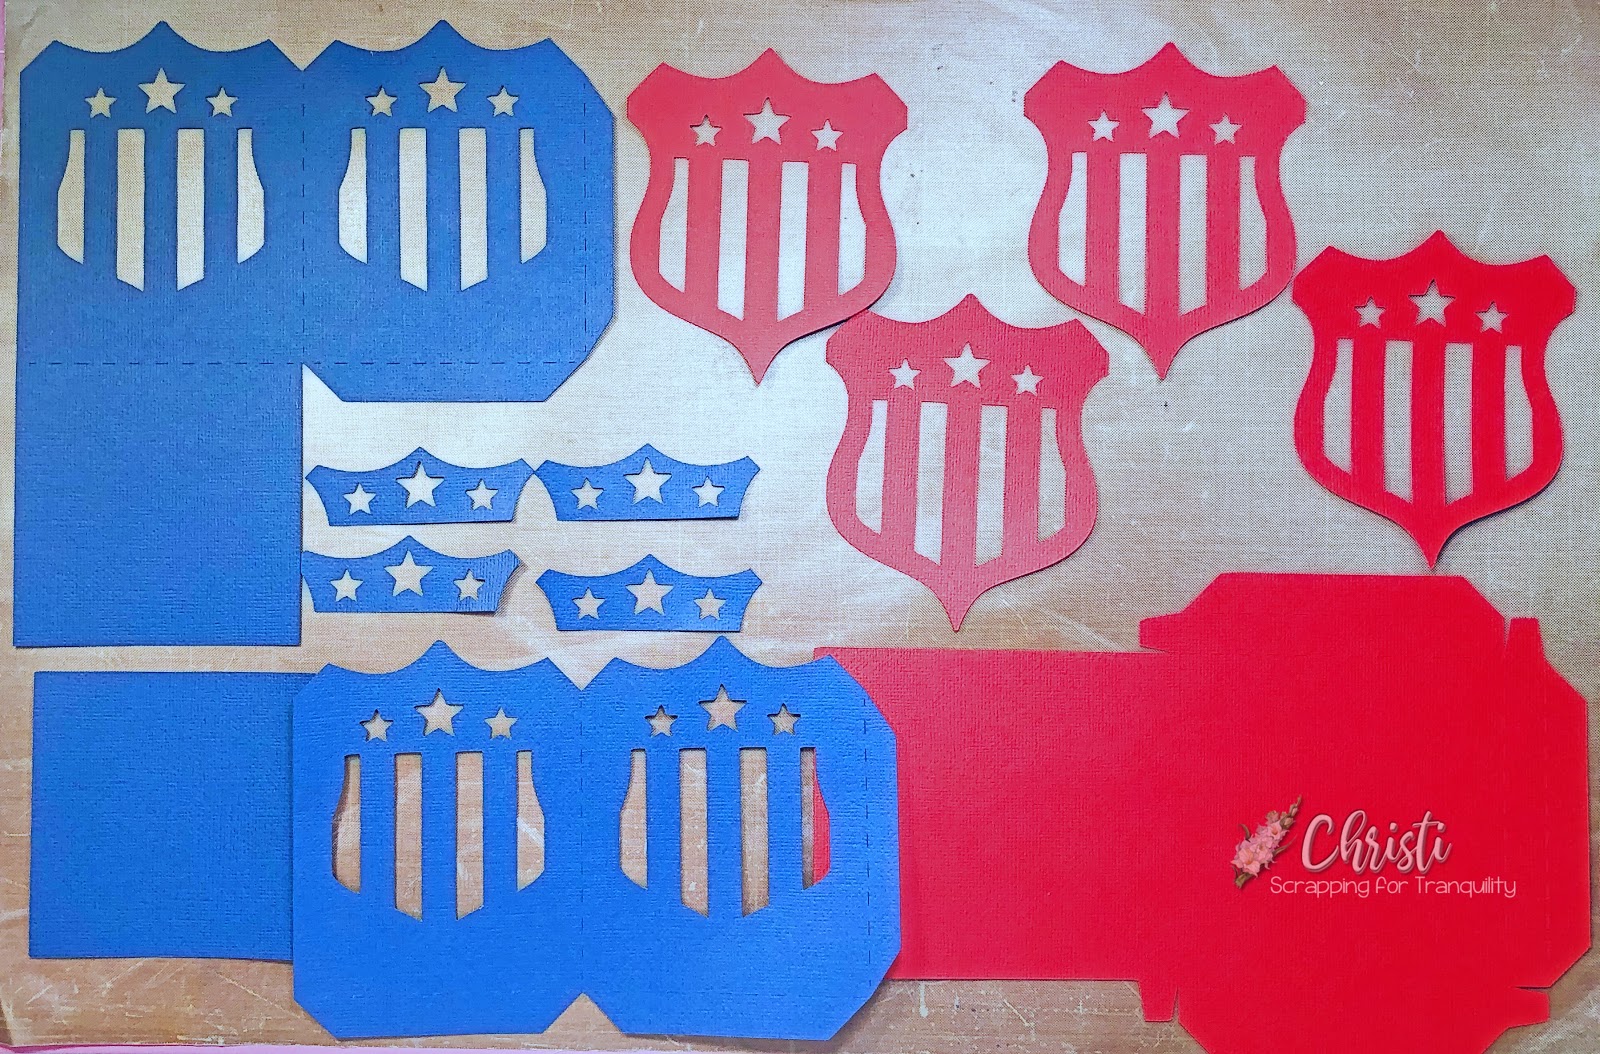
Starting out, Cut out all your pieces either by hand or by electric cutting machine. I used my Cameo 3.
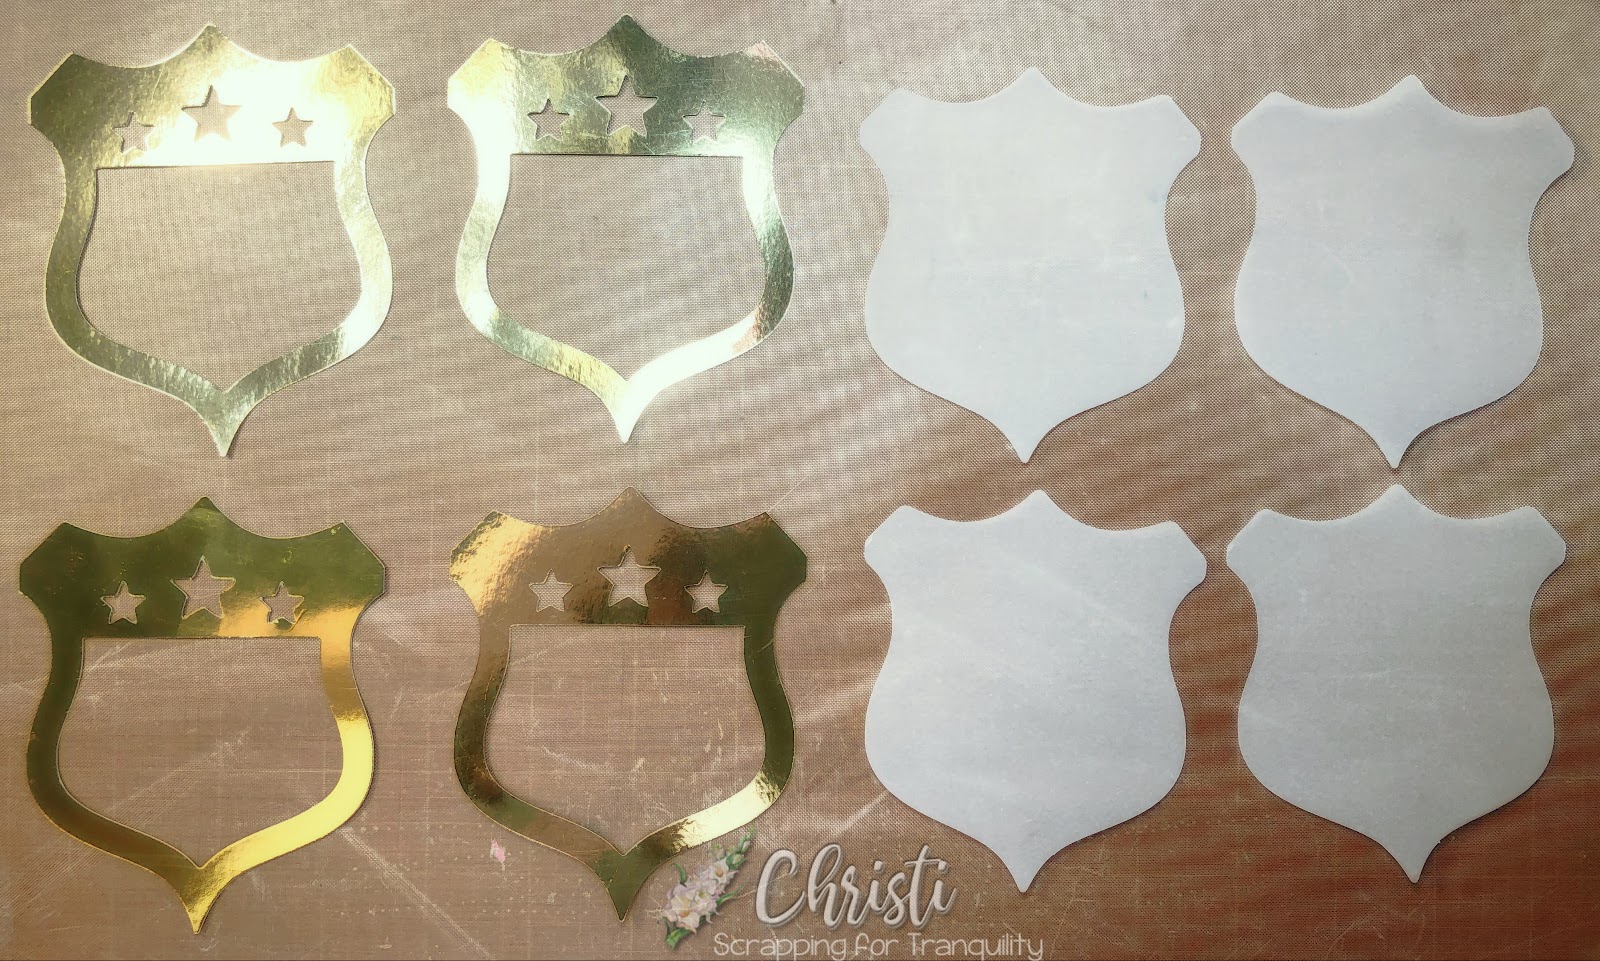
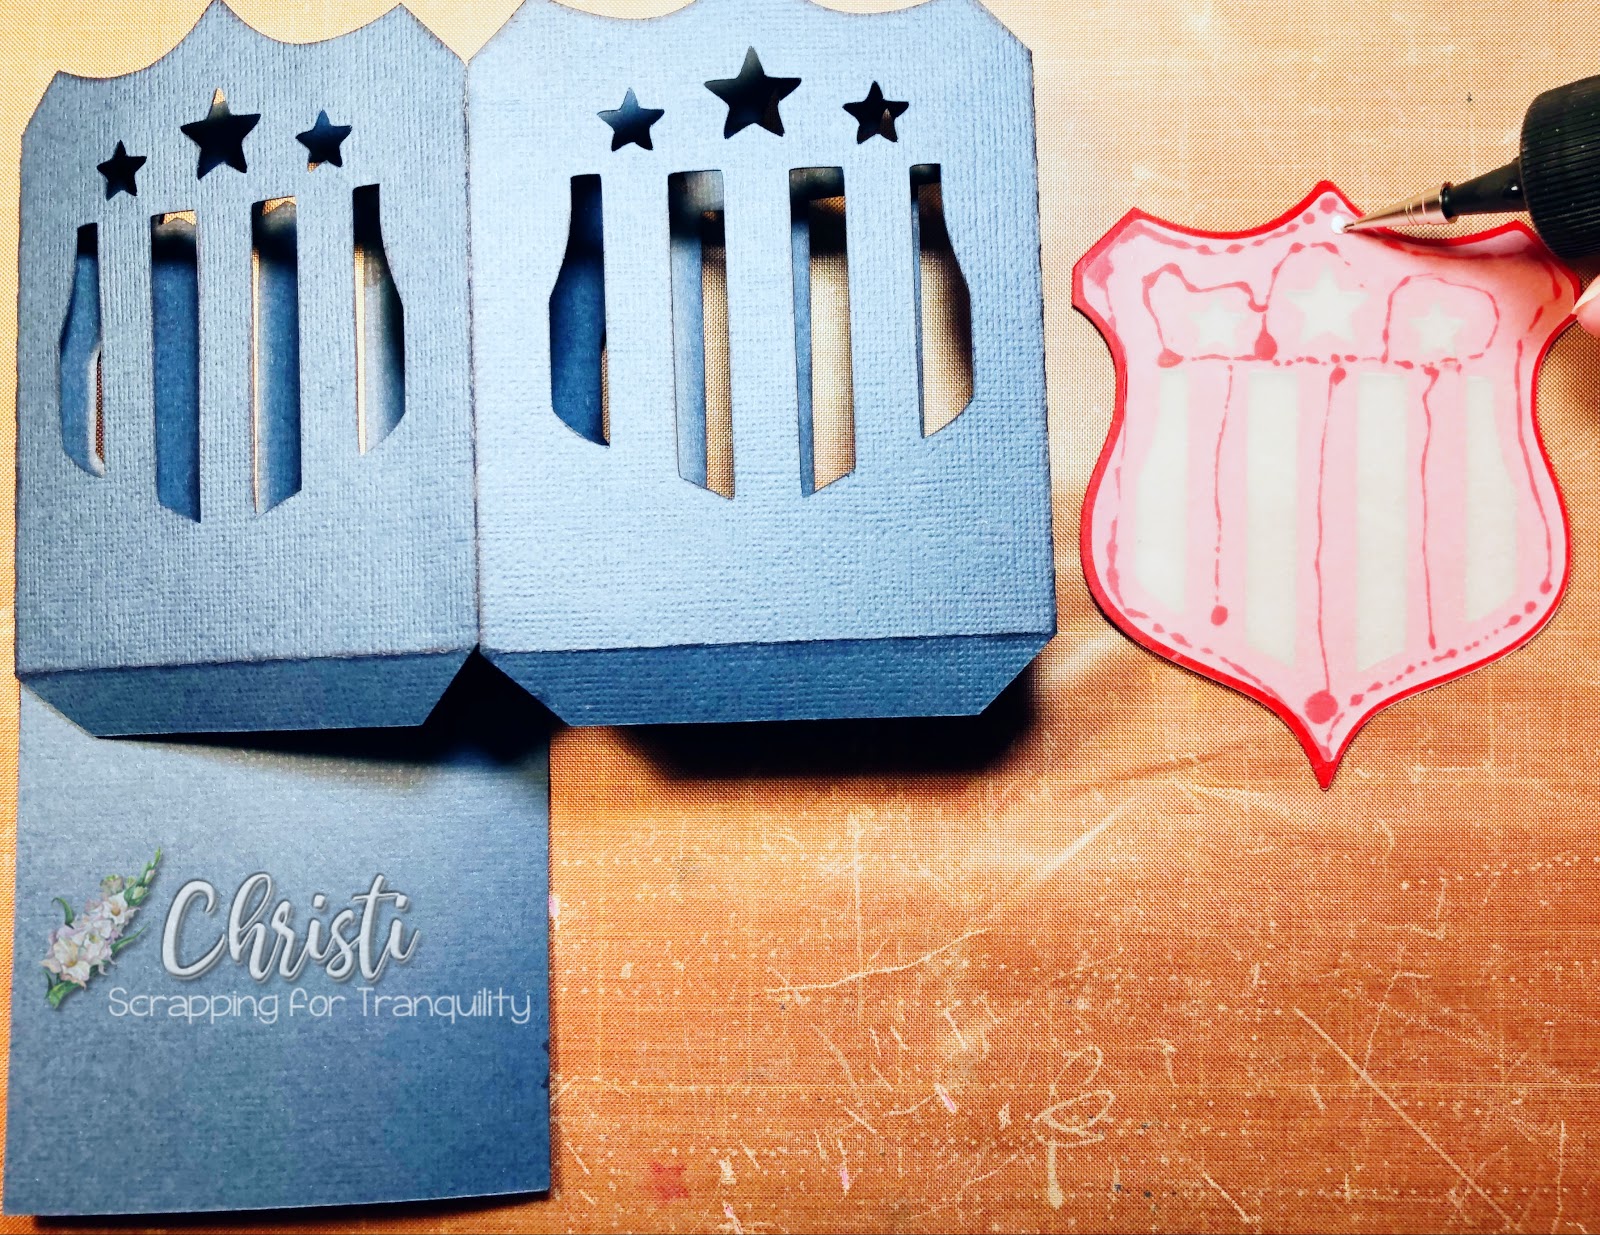
Taking American Crafts Crimson Red shield pieces, glue the to the back of the Crimson Red pieces.
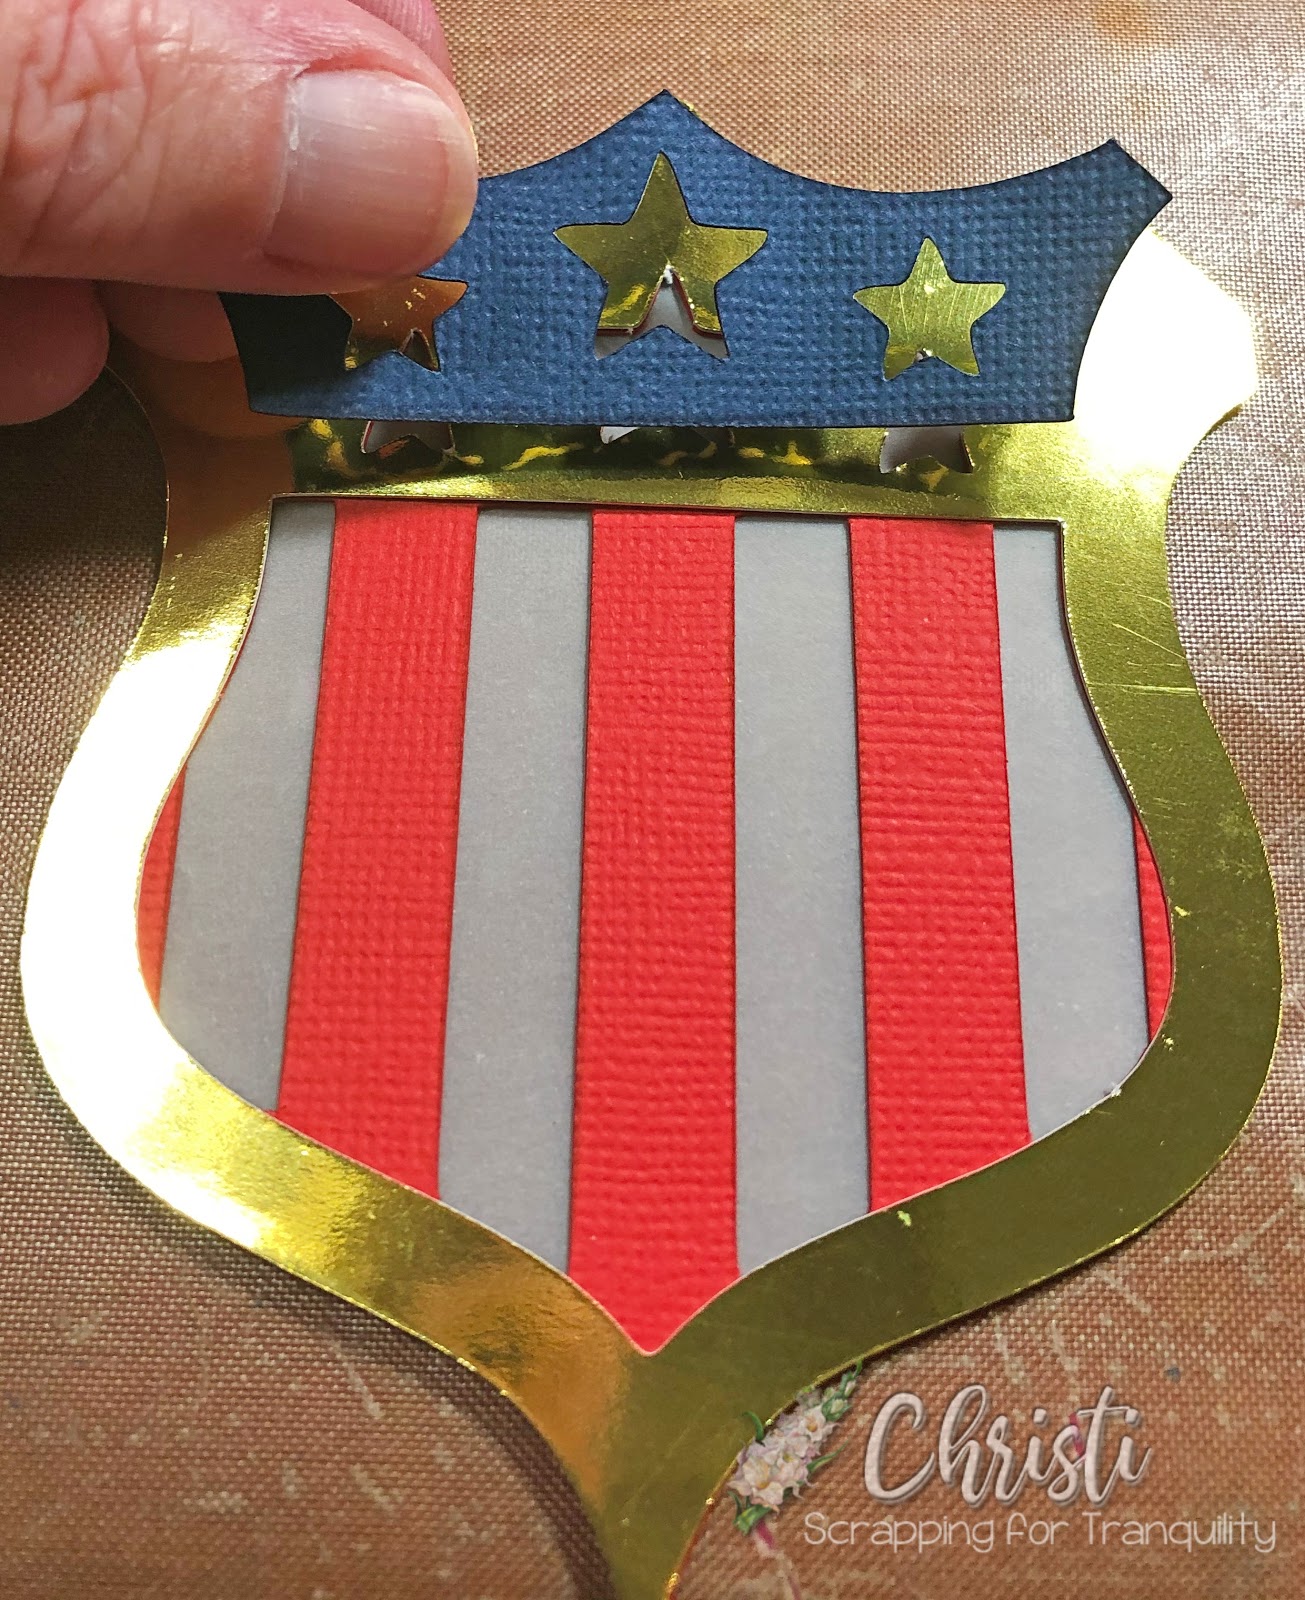
Using the Bazzill- Metallic-Gold-Mirror-Foil shield outline, glue that on top of the crimson red shield.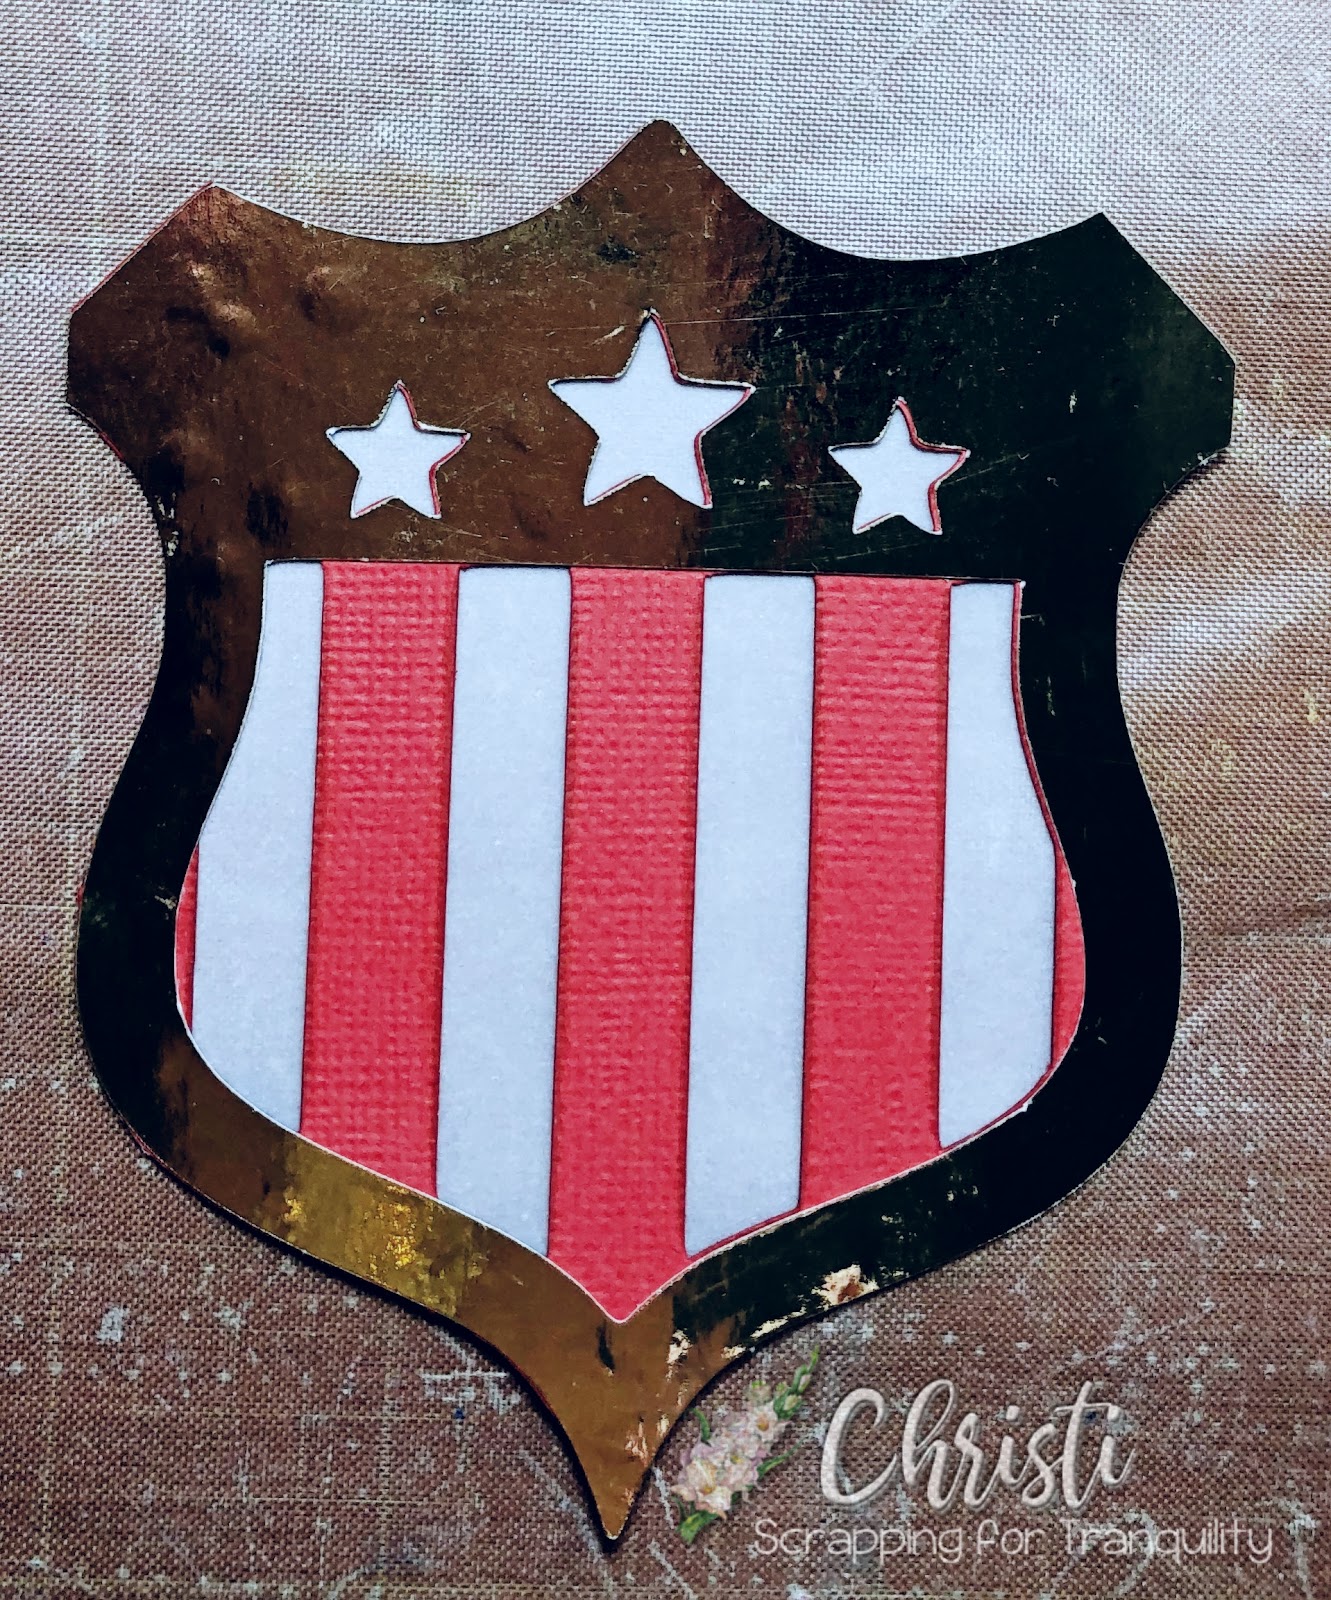
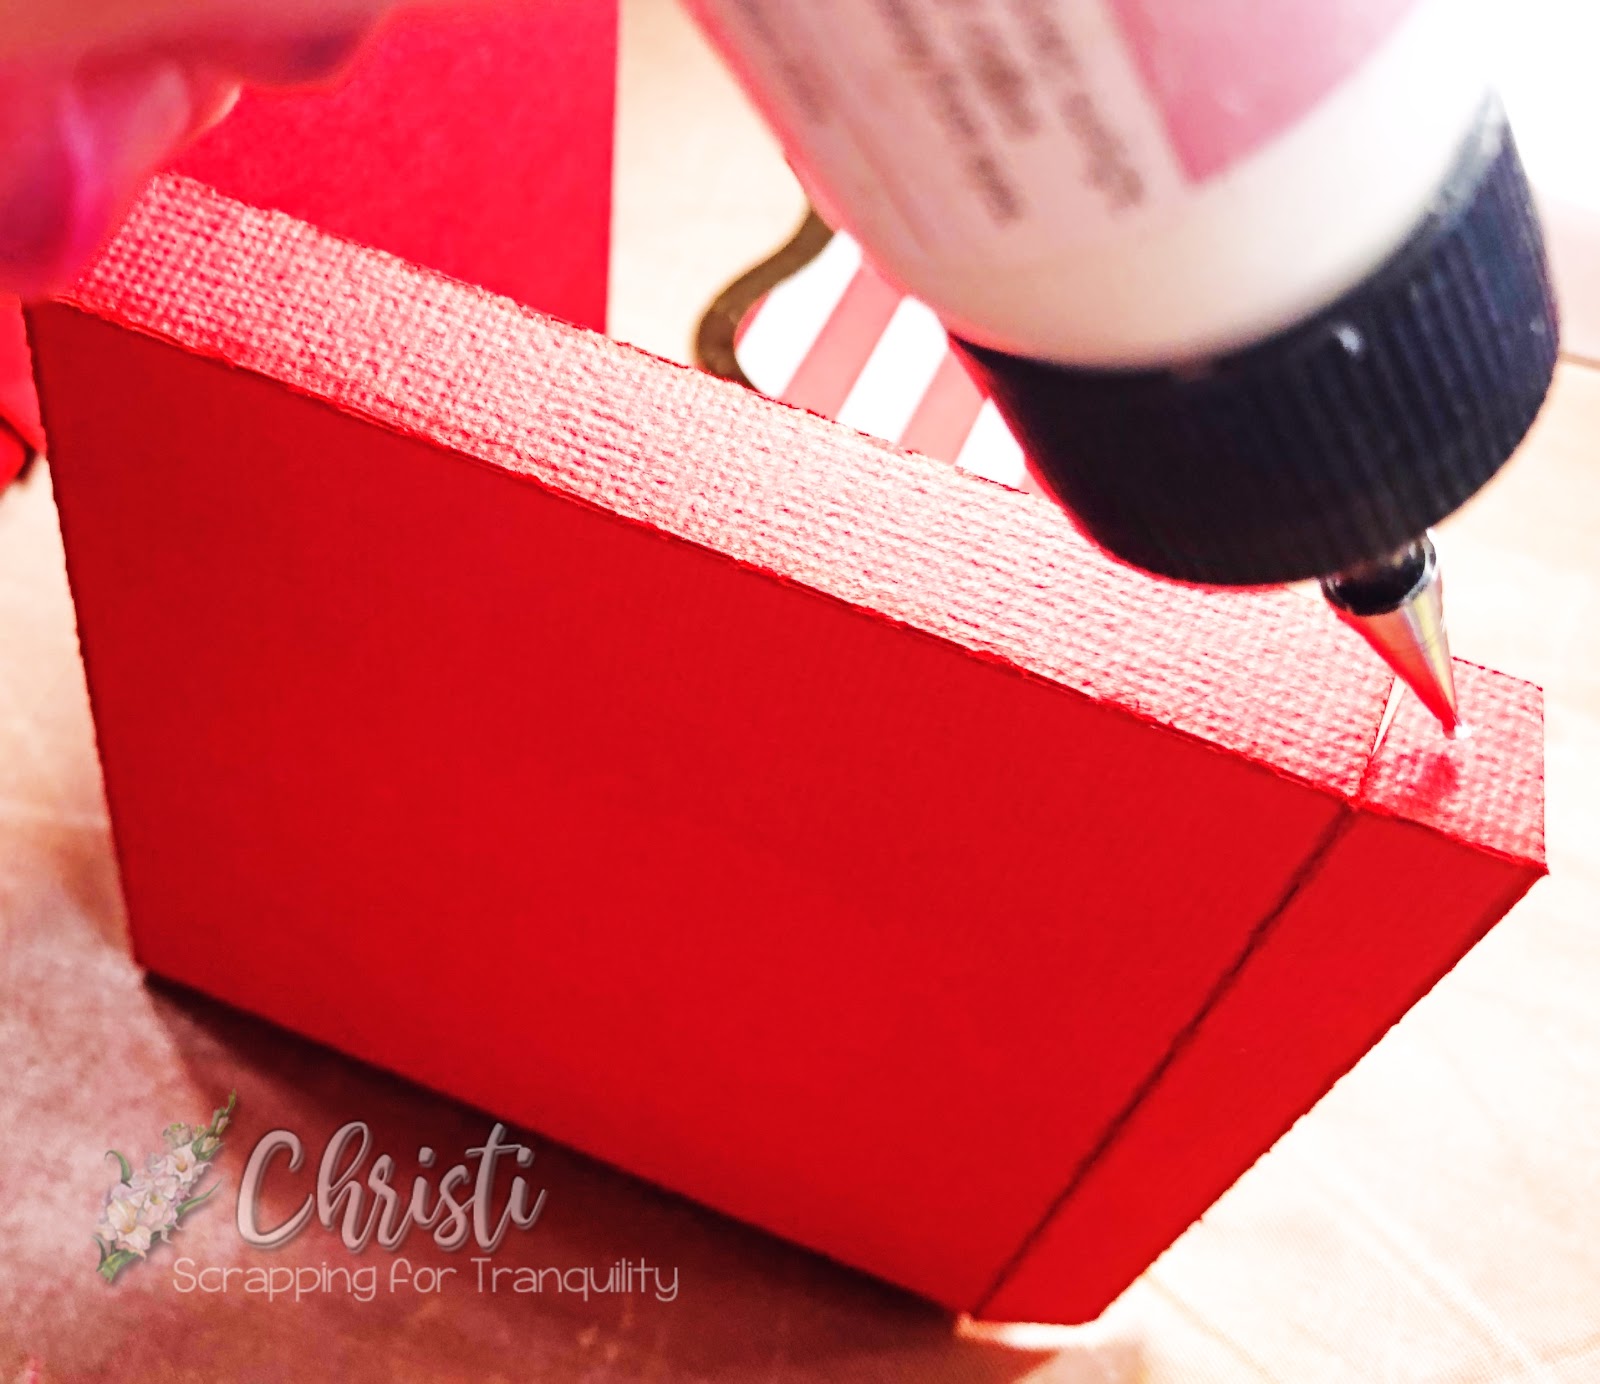
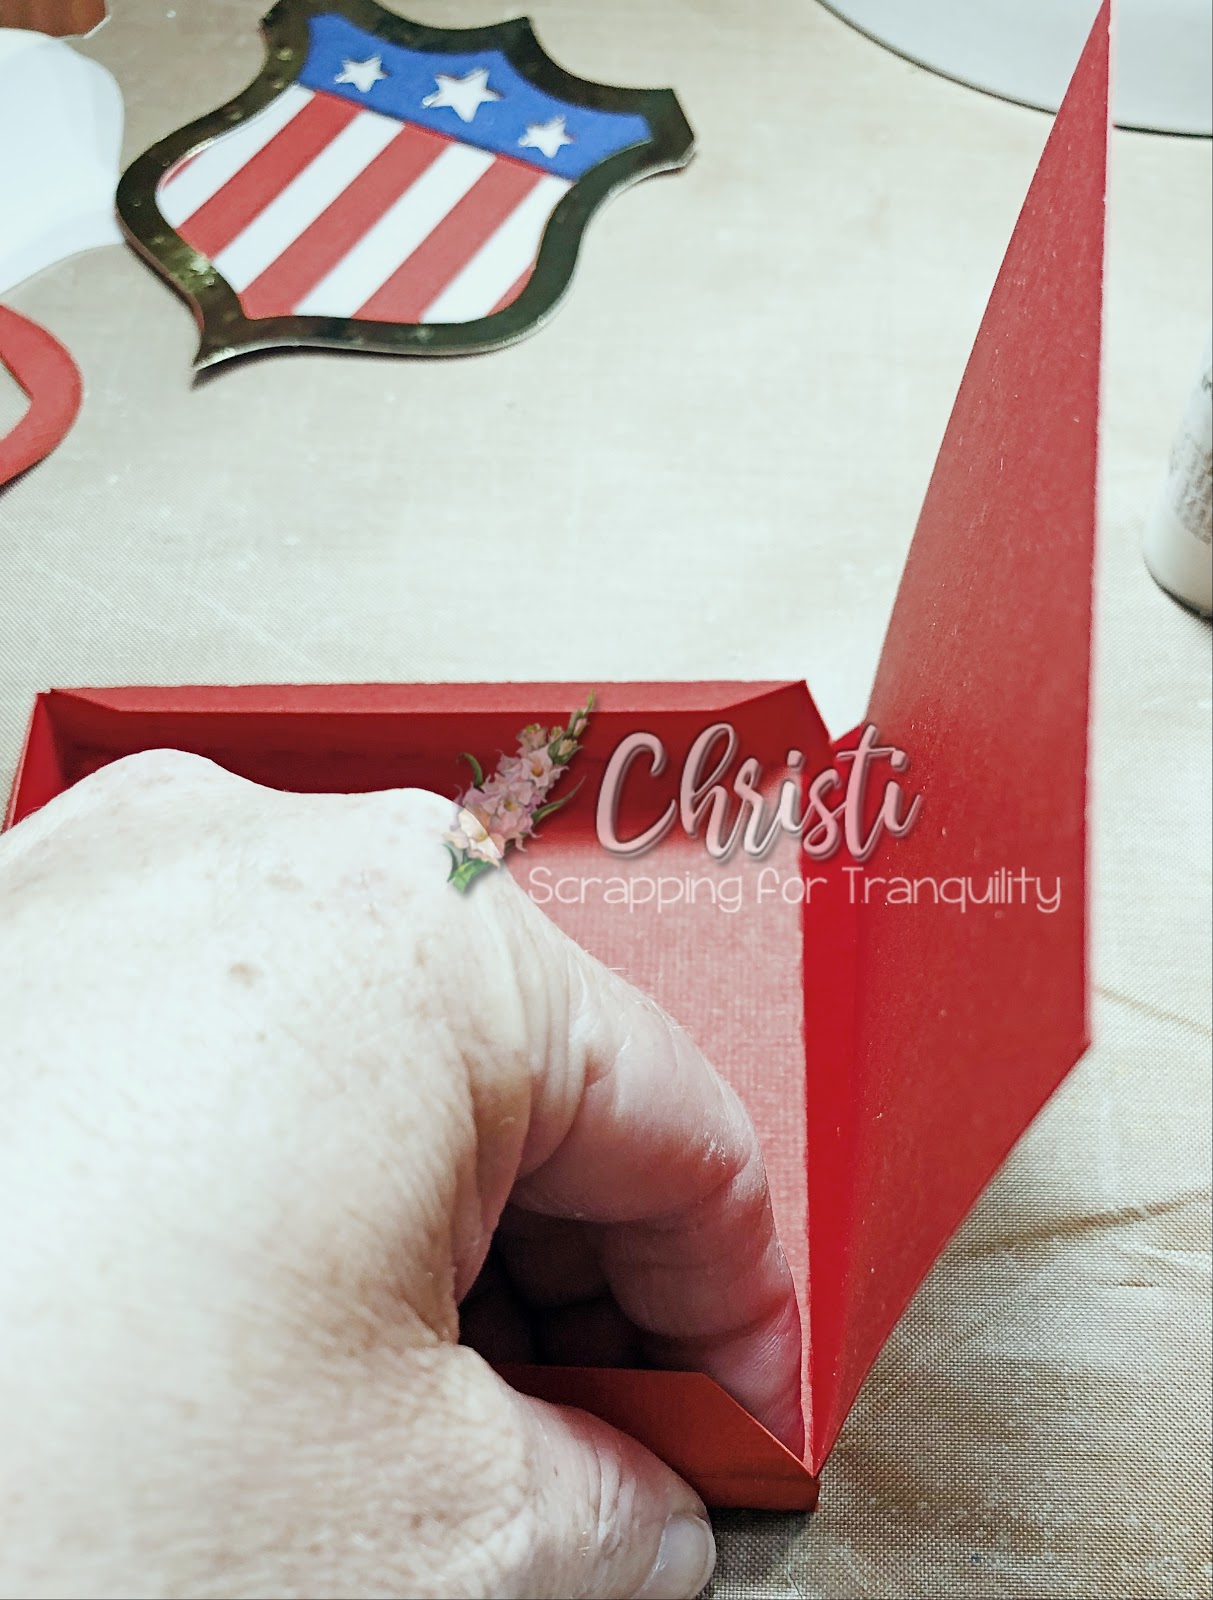
Once you have your tabs glued, make sure to fold in at the crease and generously apply glue to all top tabs. You then want to lay the top flap down onto the three glued tabs starting from the hinged side, which should be squared, slowly working your way to the non-hinged side making sure everything squares up.
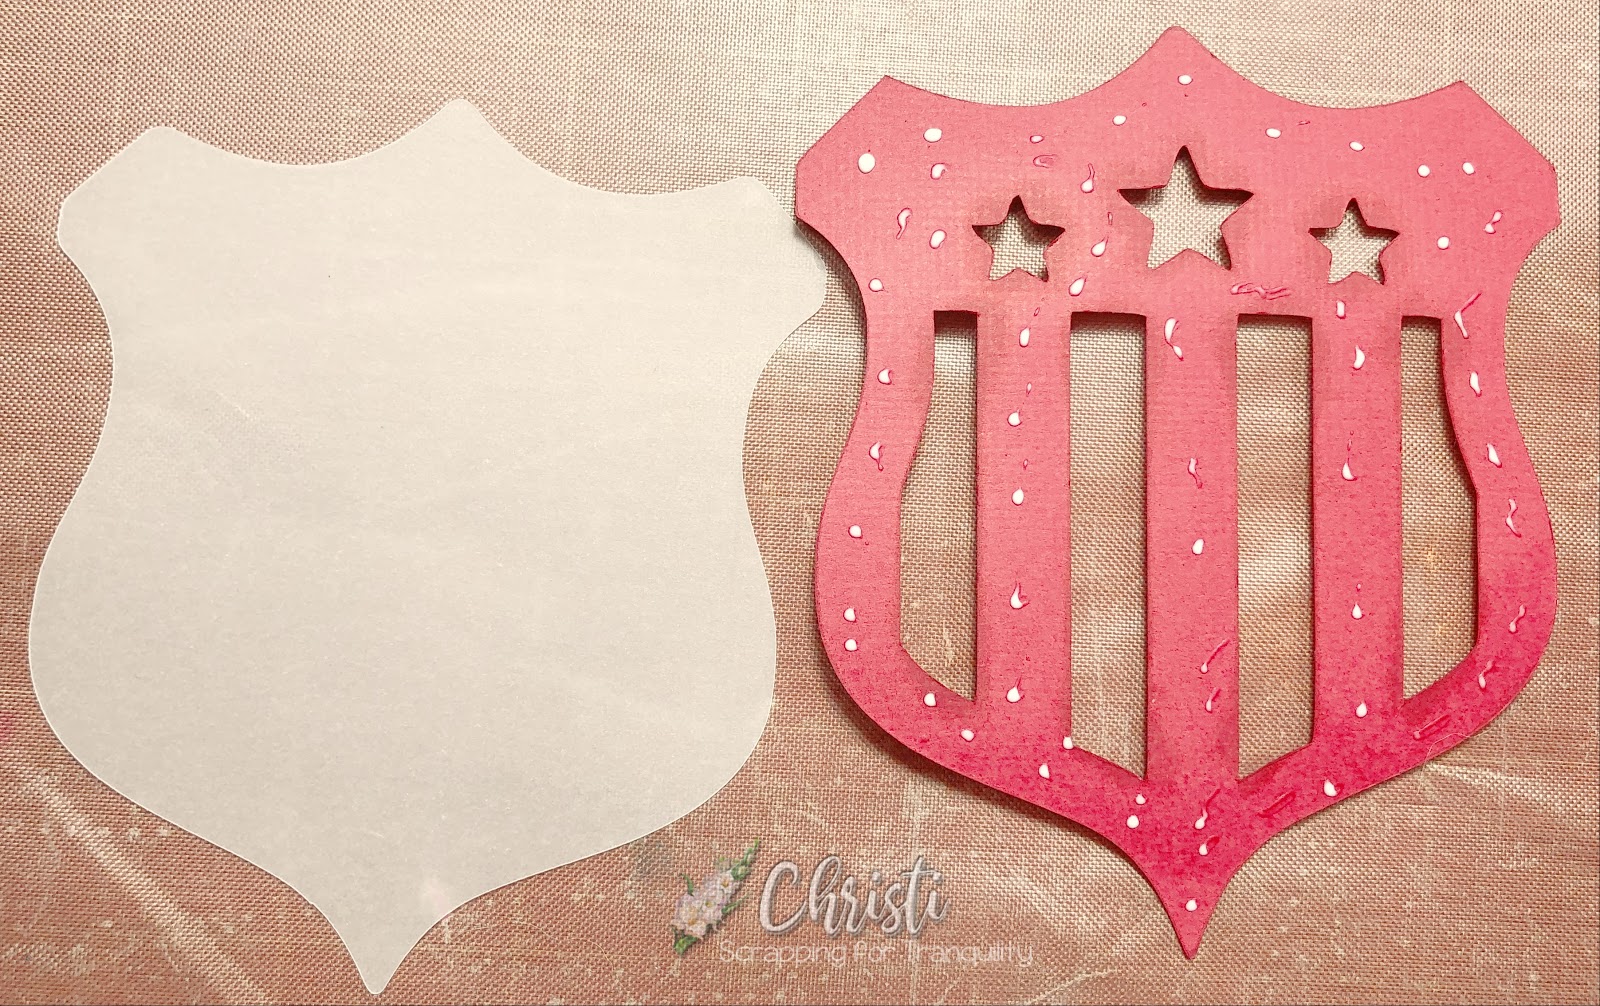
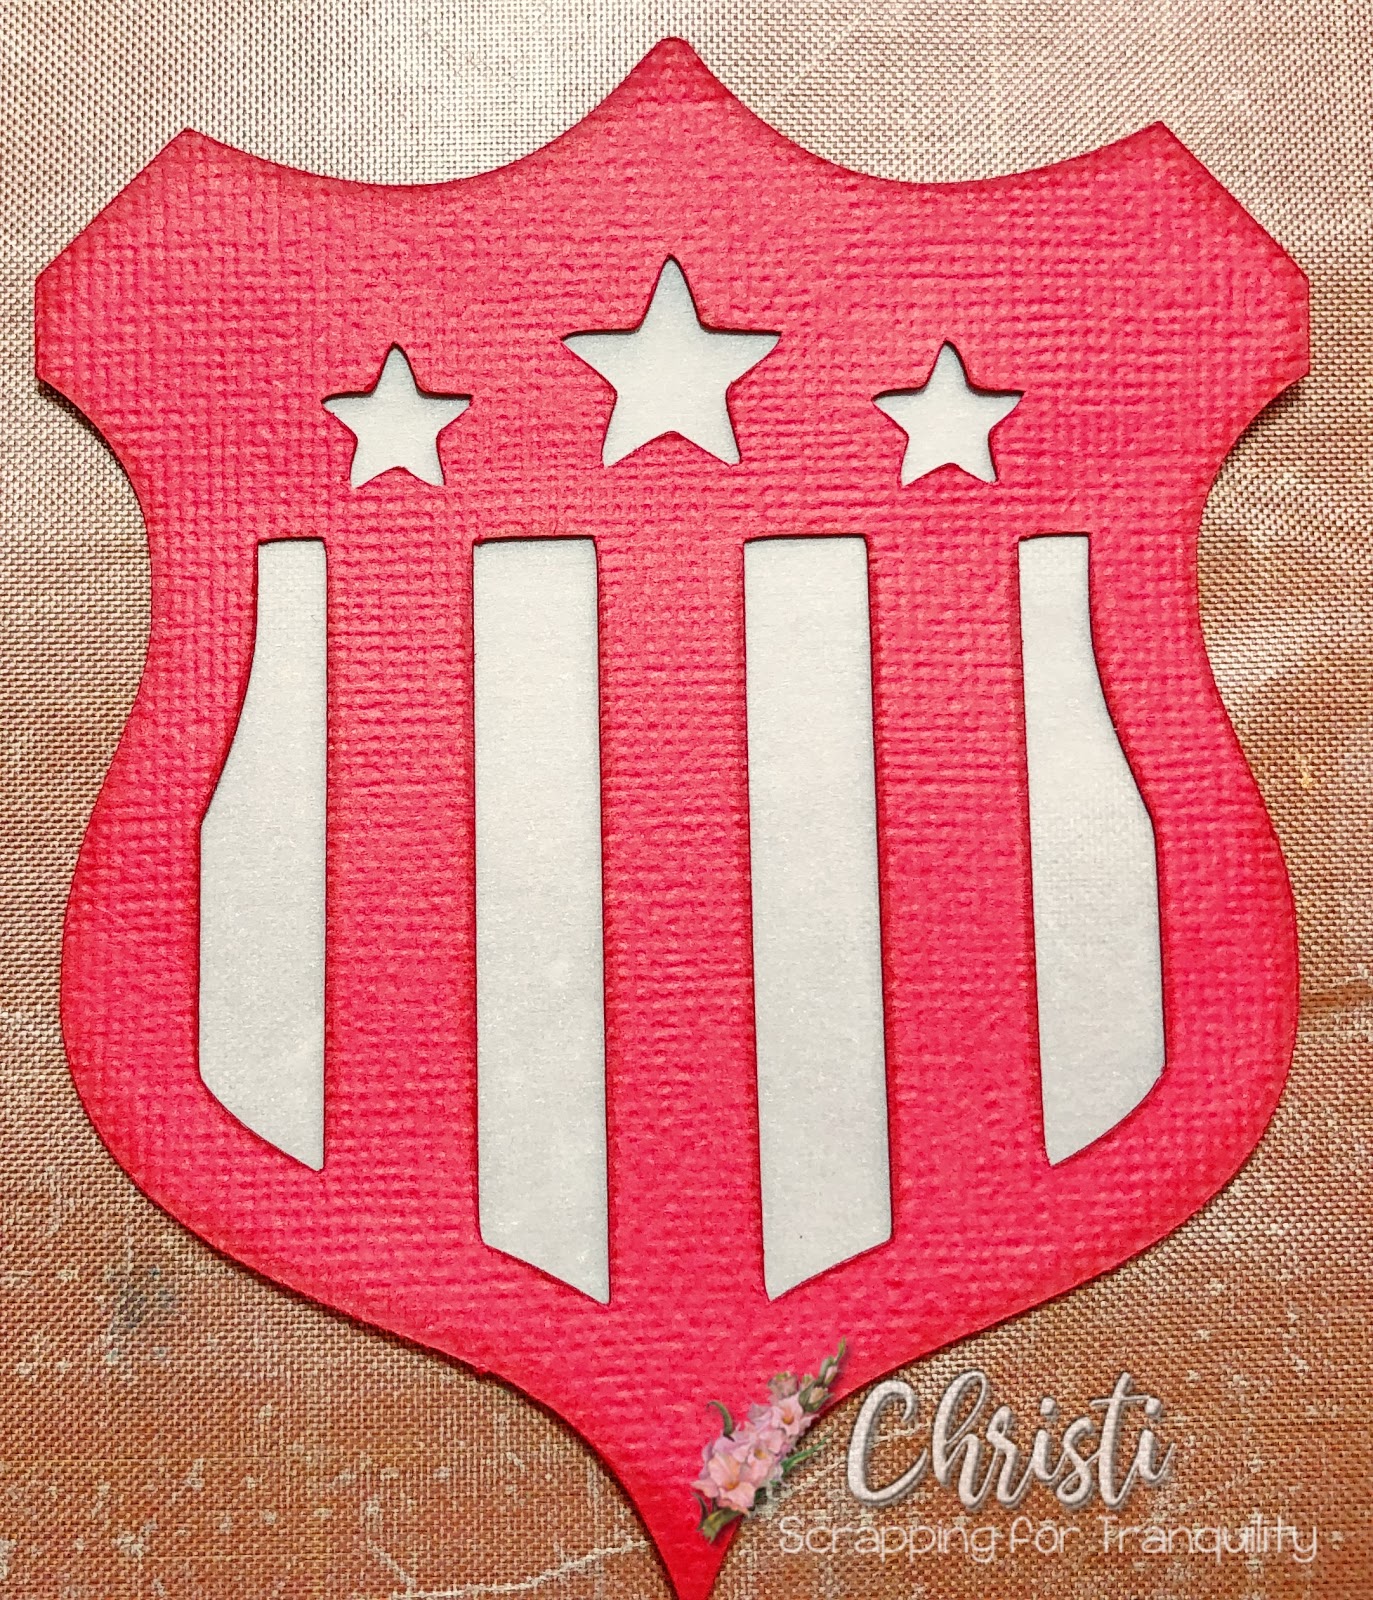
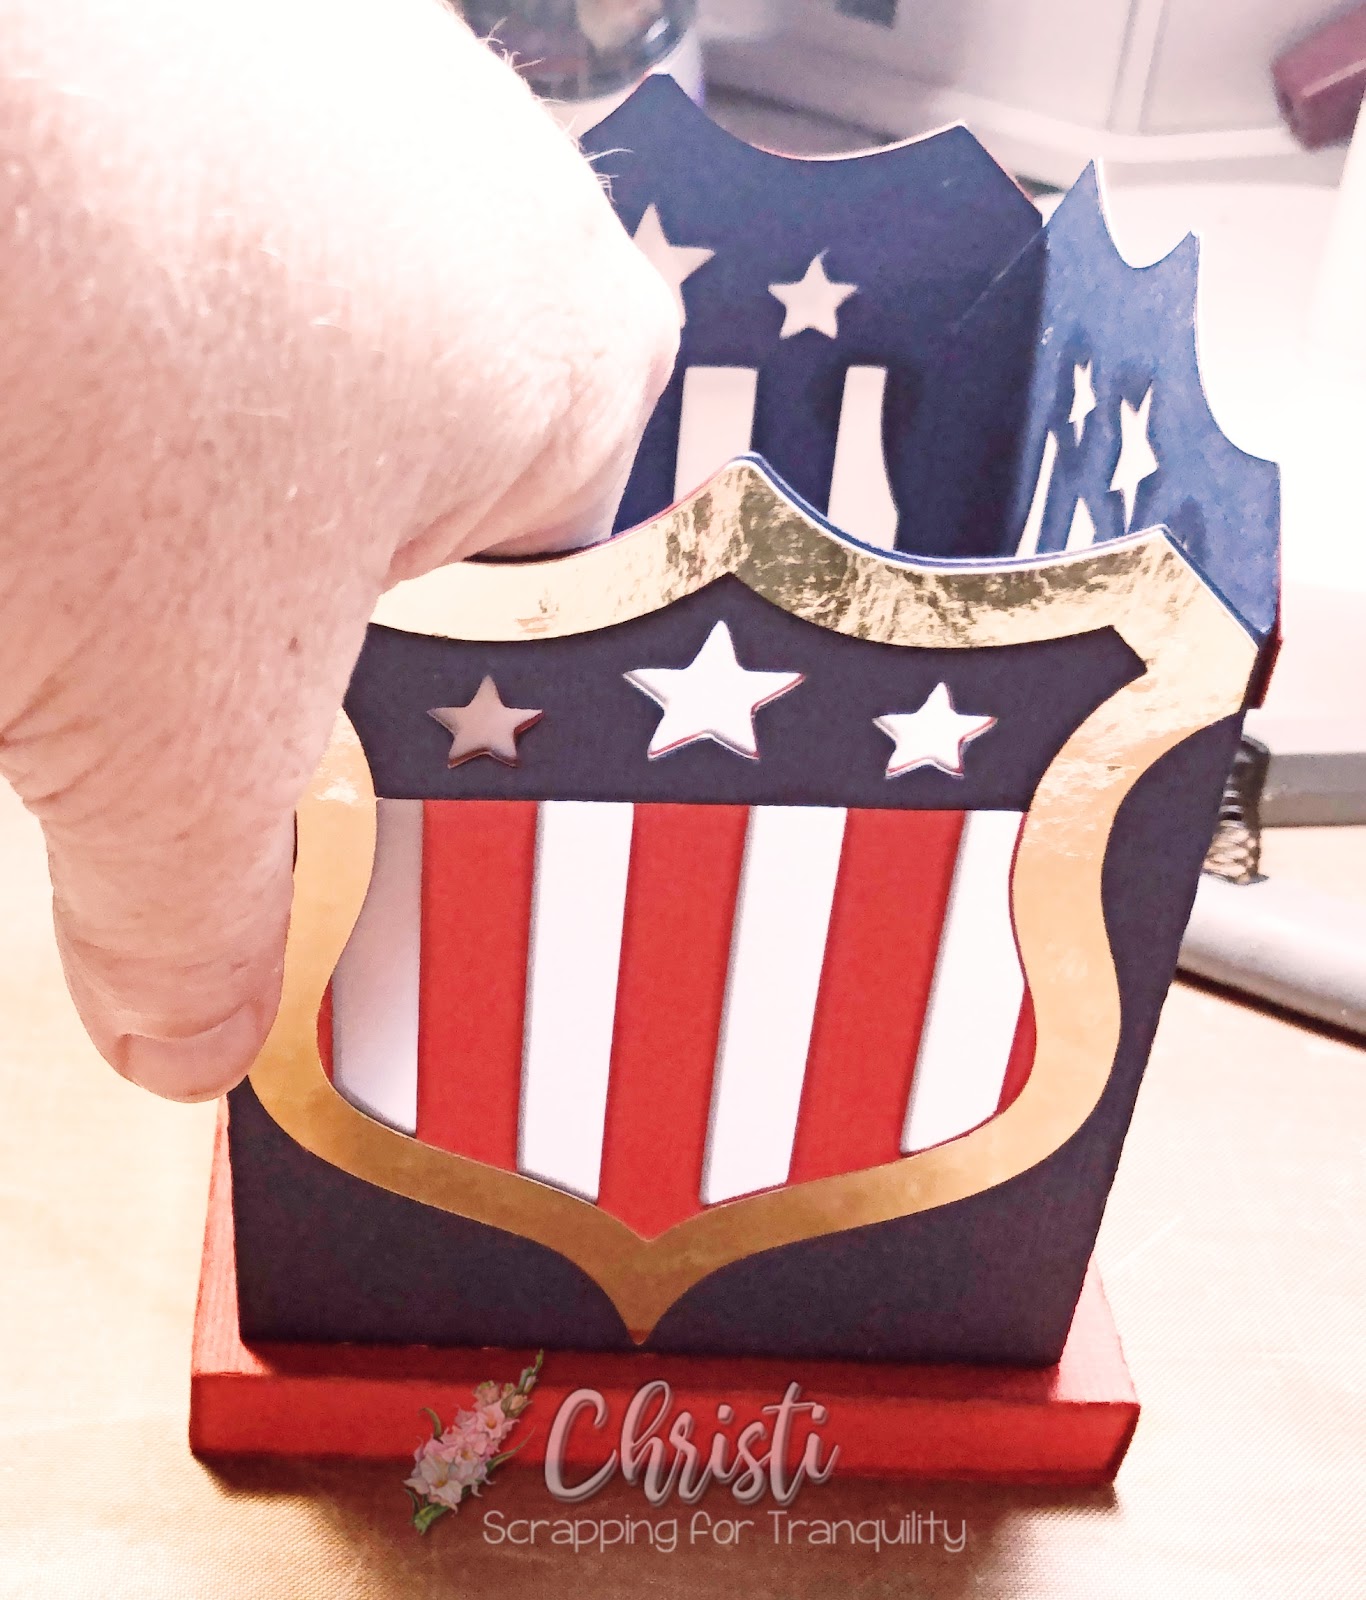
We then want to put our four shields we built onto the blue base we put together. Lay the base flat as shown above. Put glue on the back of the shield avoiding the vellum areas that you see through.
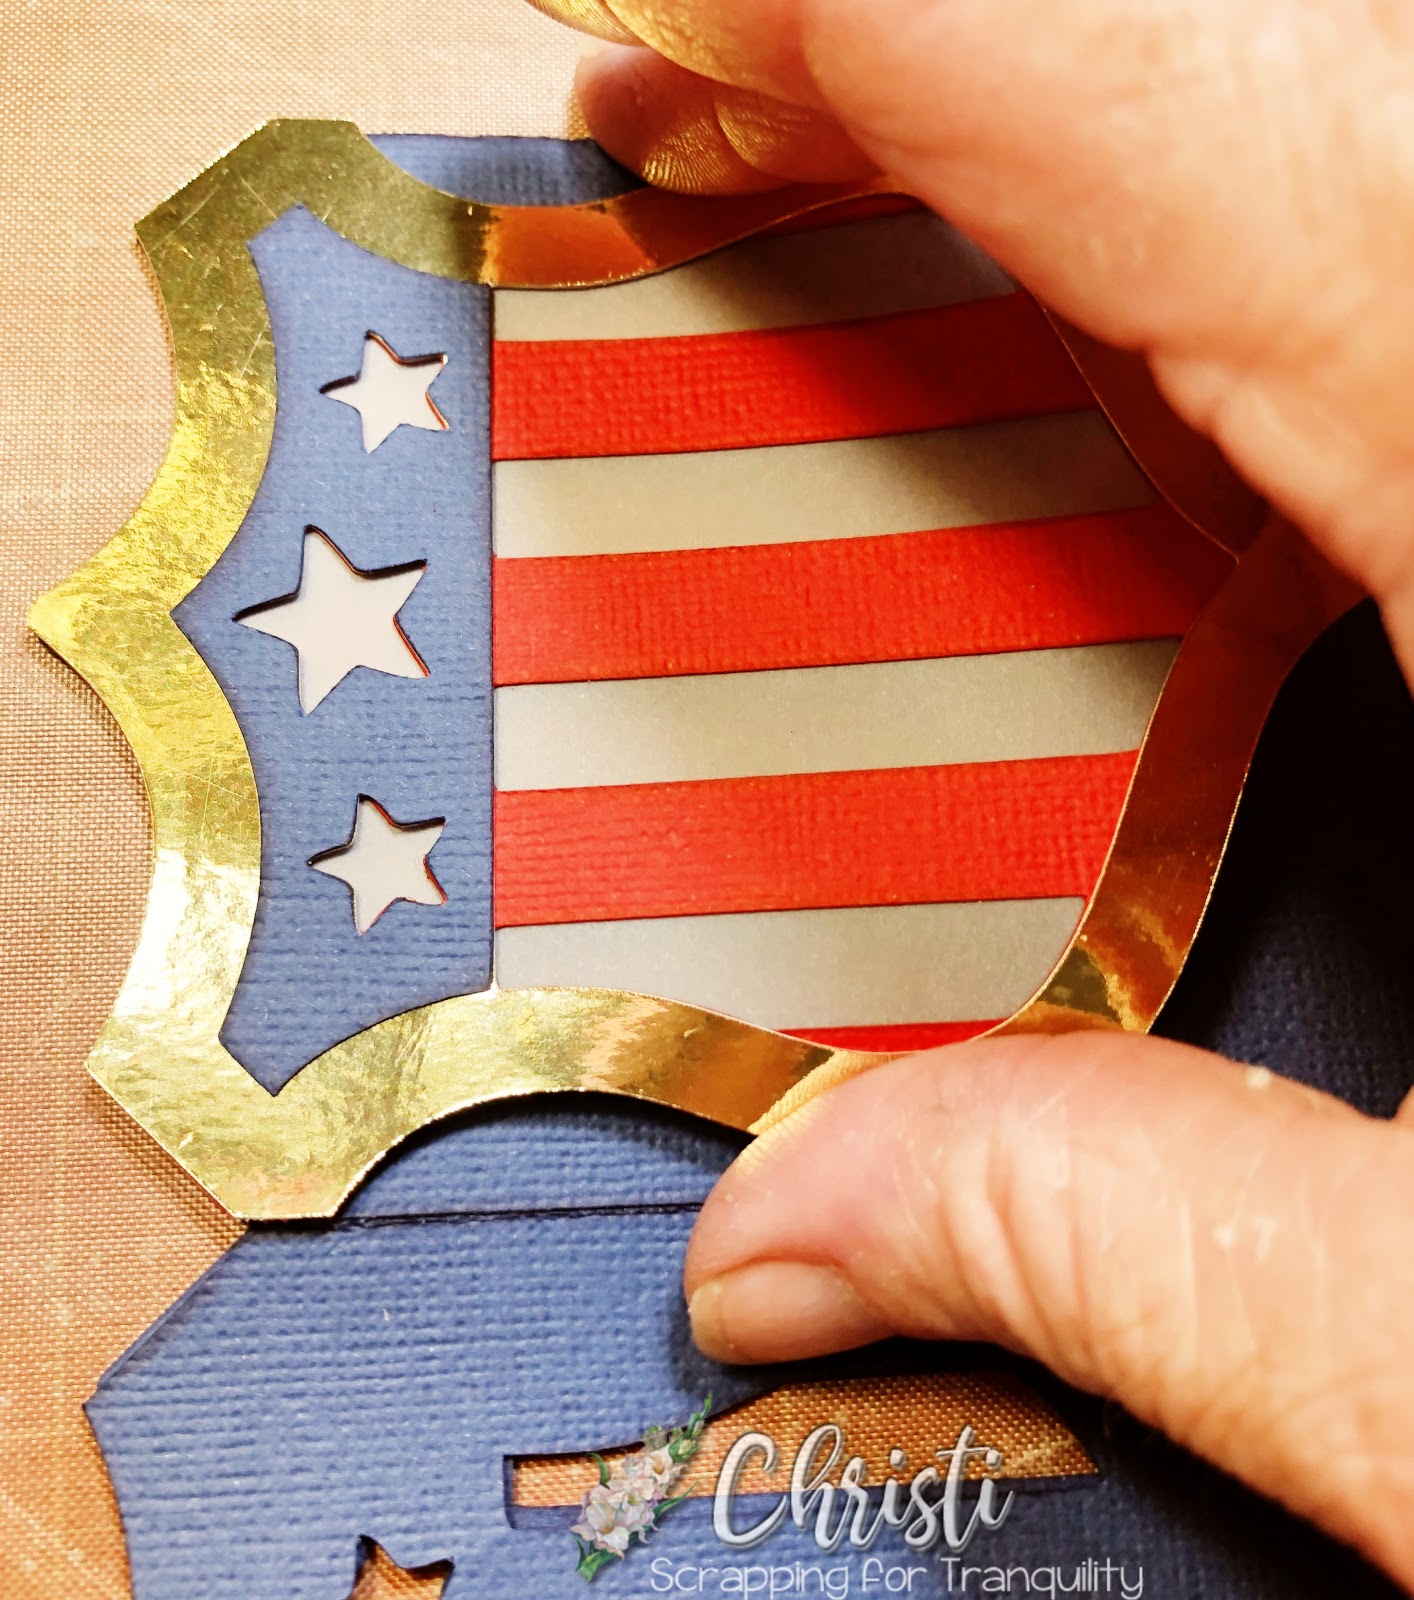
Line the point of the shield with the point of the blue base and carefully glue shield down. Repeat this three more times.
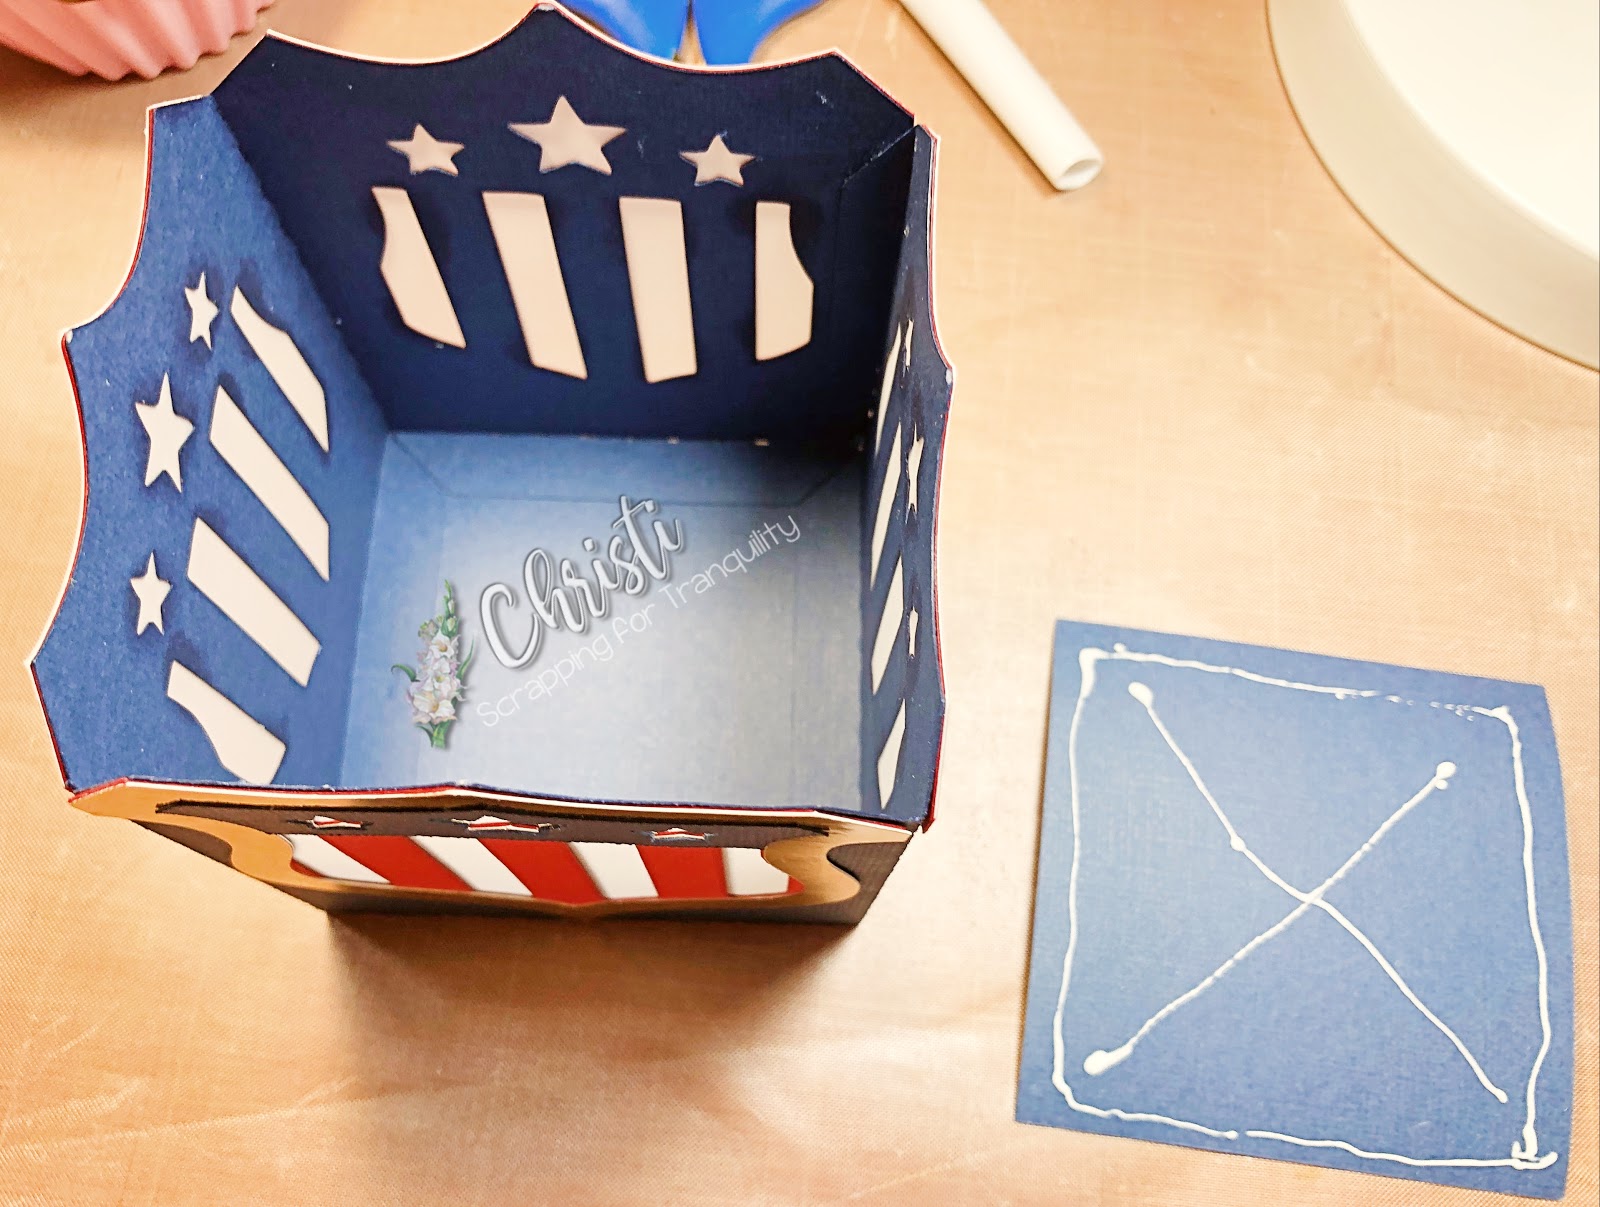
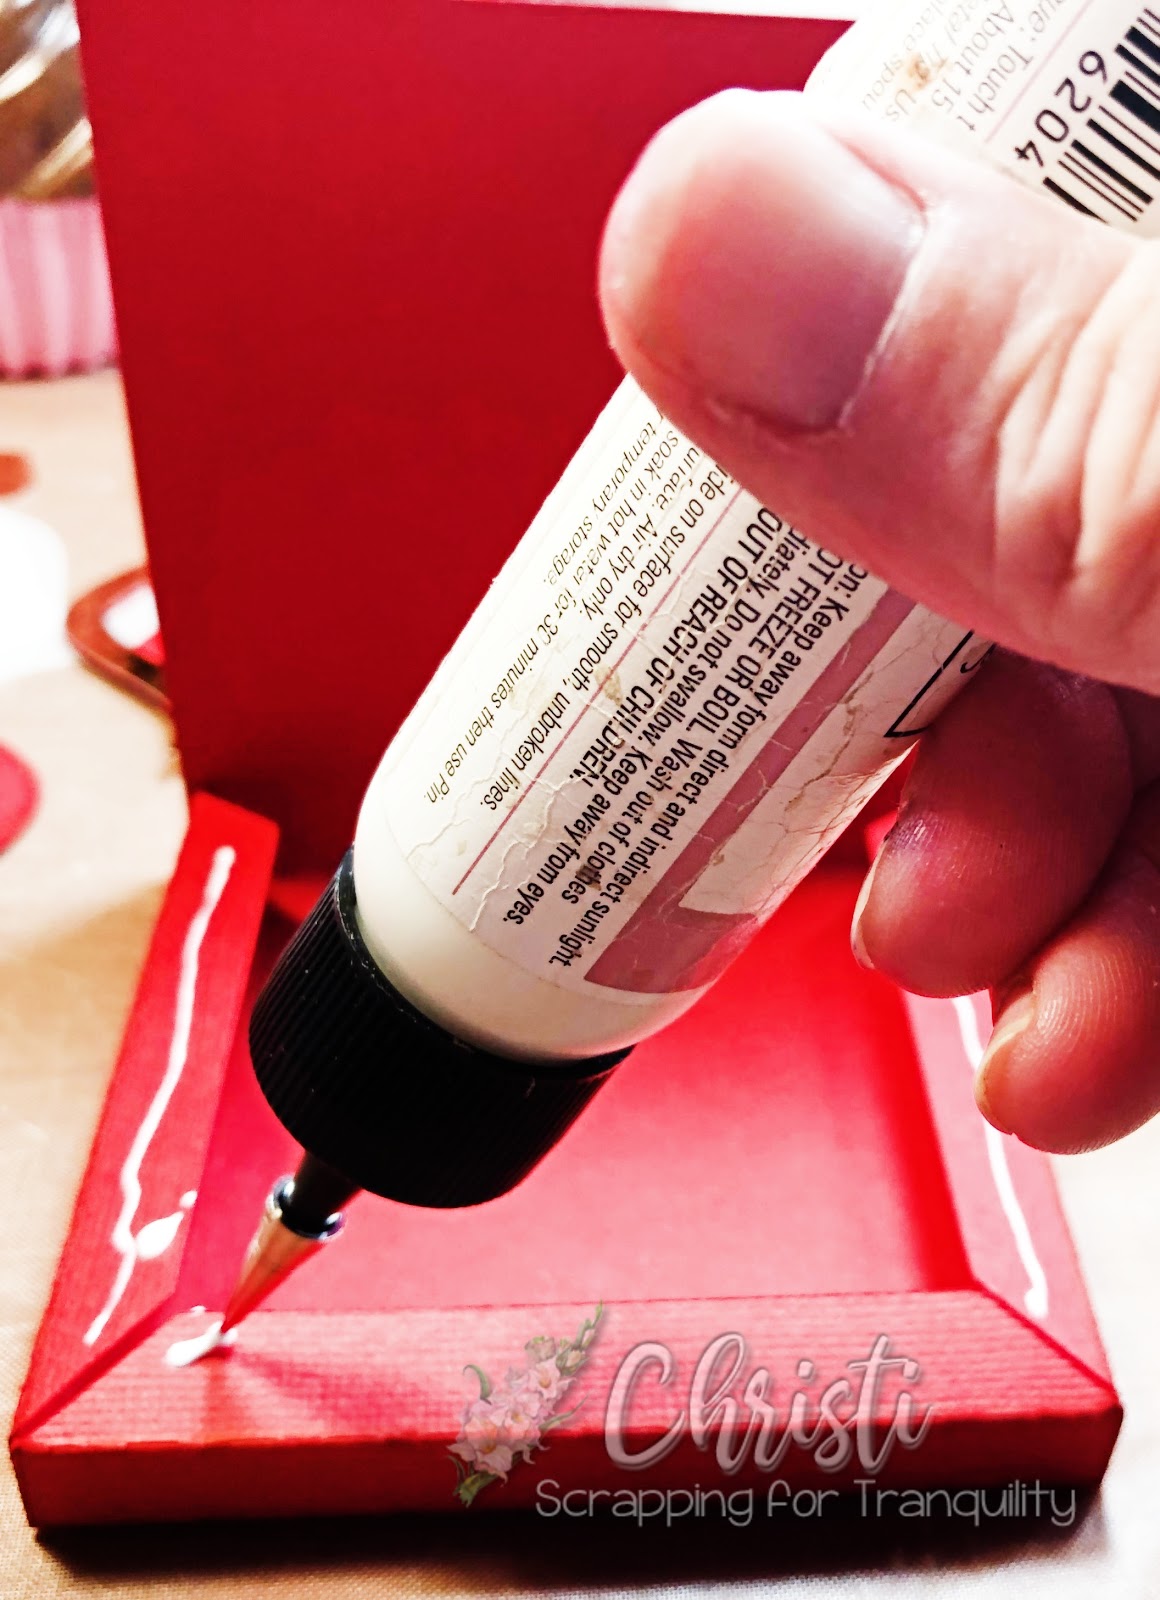
Put glue on the back of your extra plain square. You will be putting this inside the candle holder for extra support and as the bottom of the candle holder.
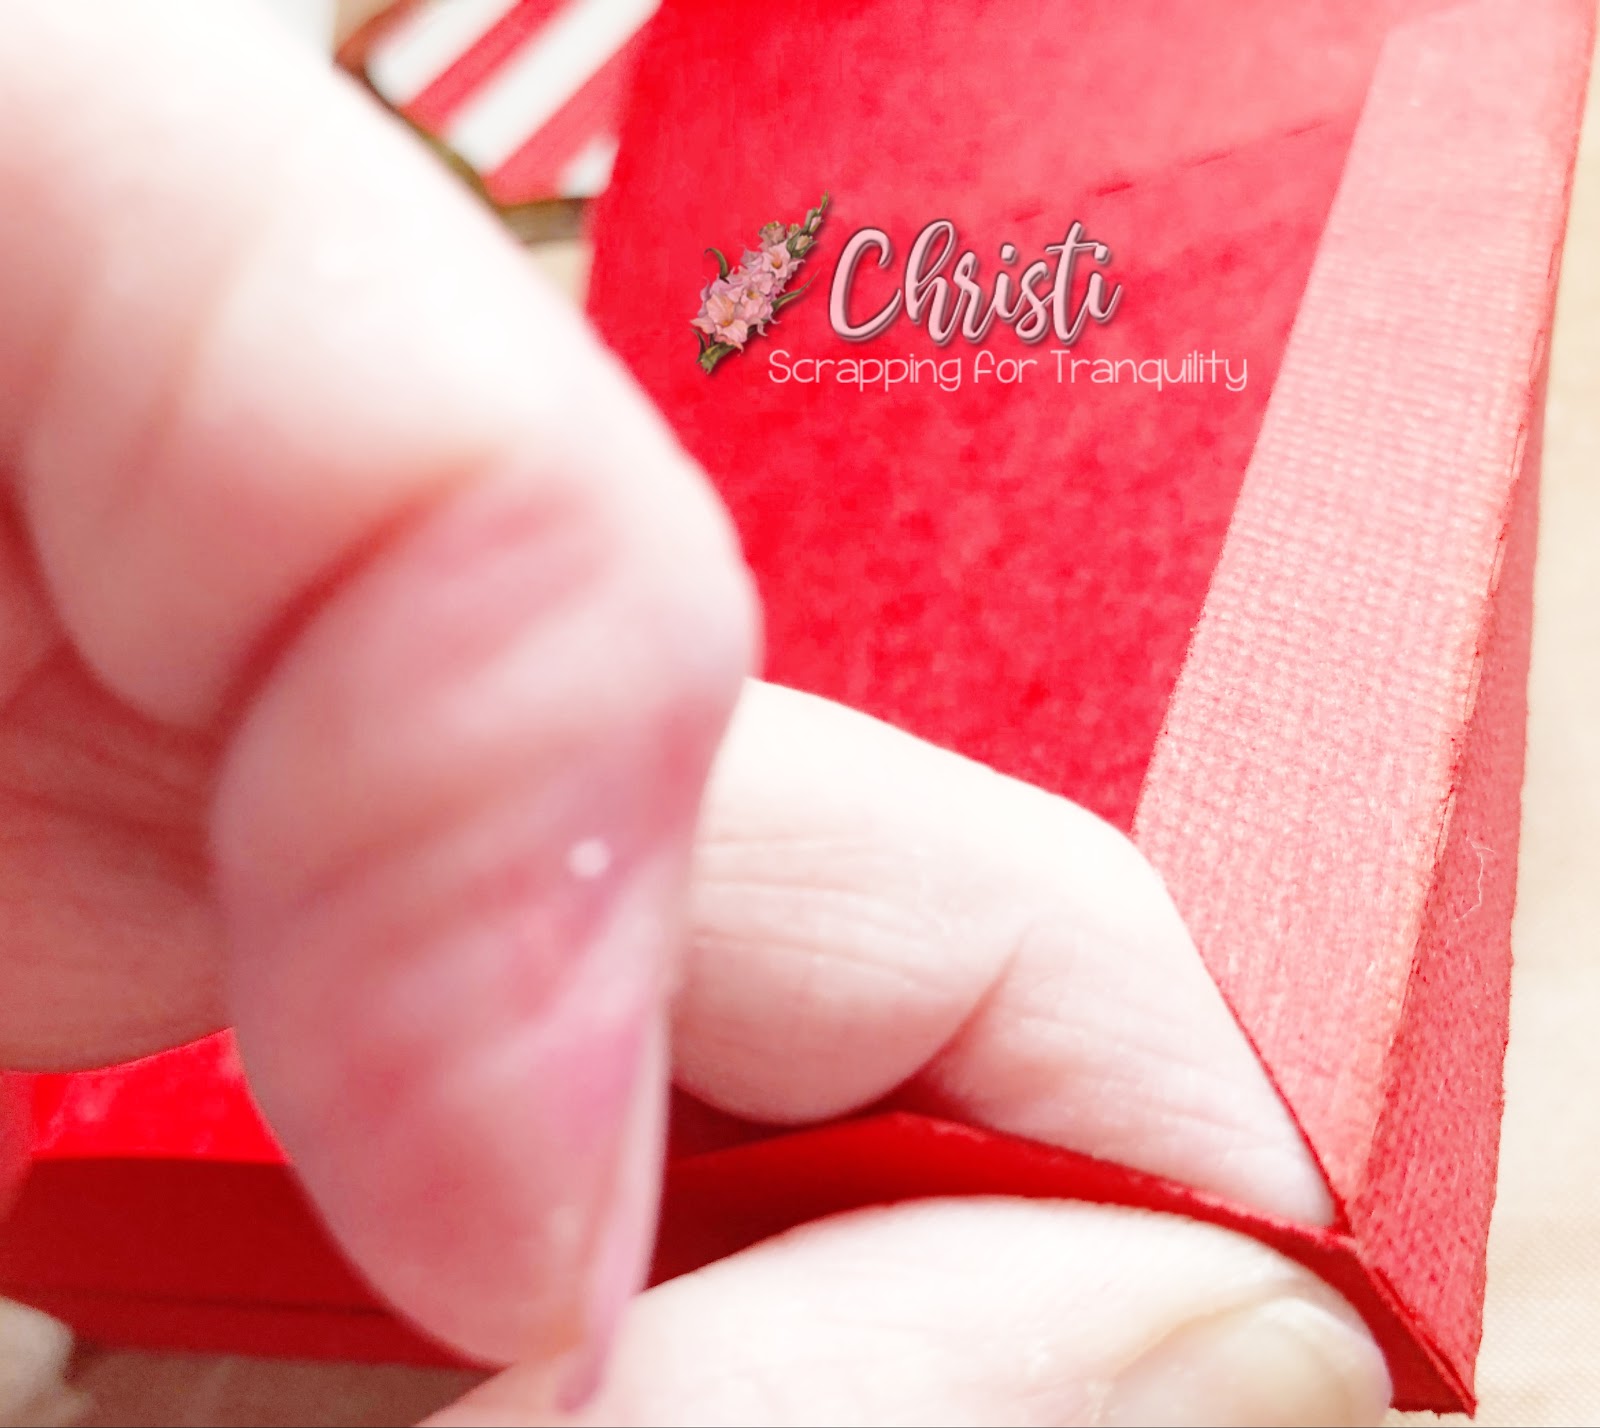
You can use your fingers or anything that won't ruin your cardstock. I use a ruler to help hold this down in the bottom and gently burnish it to the bottom of the holder.
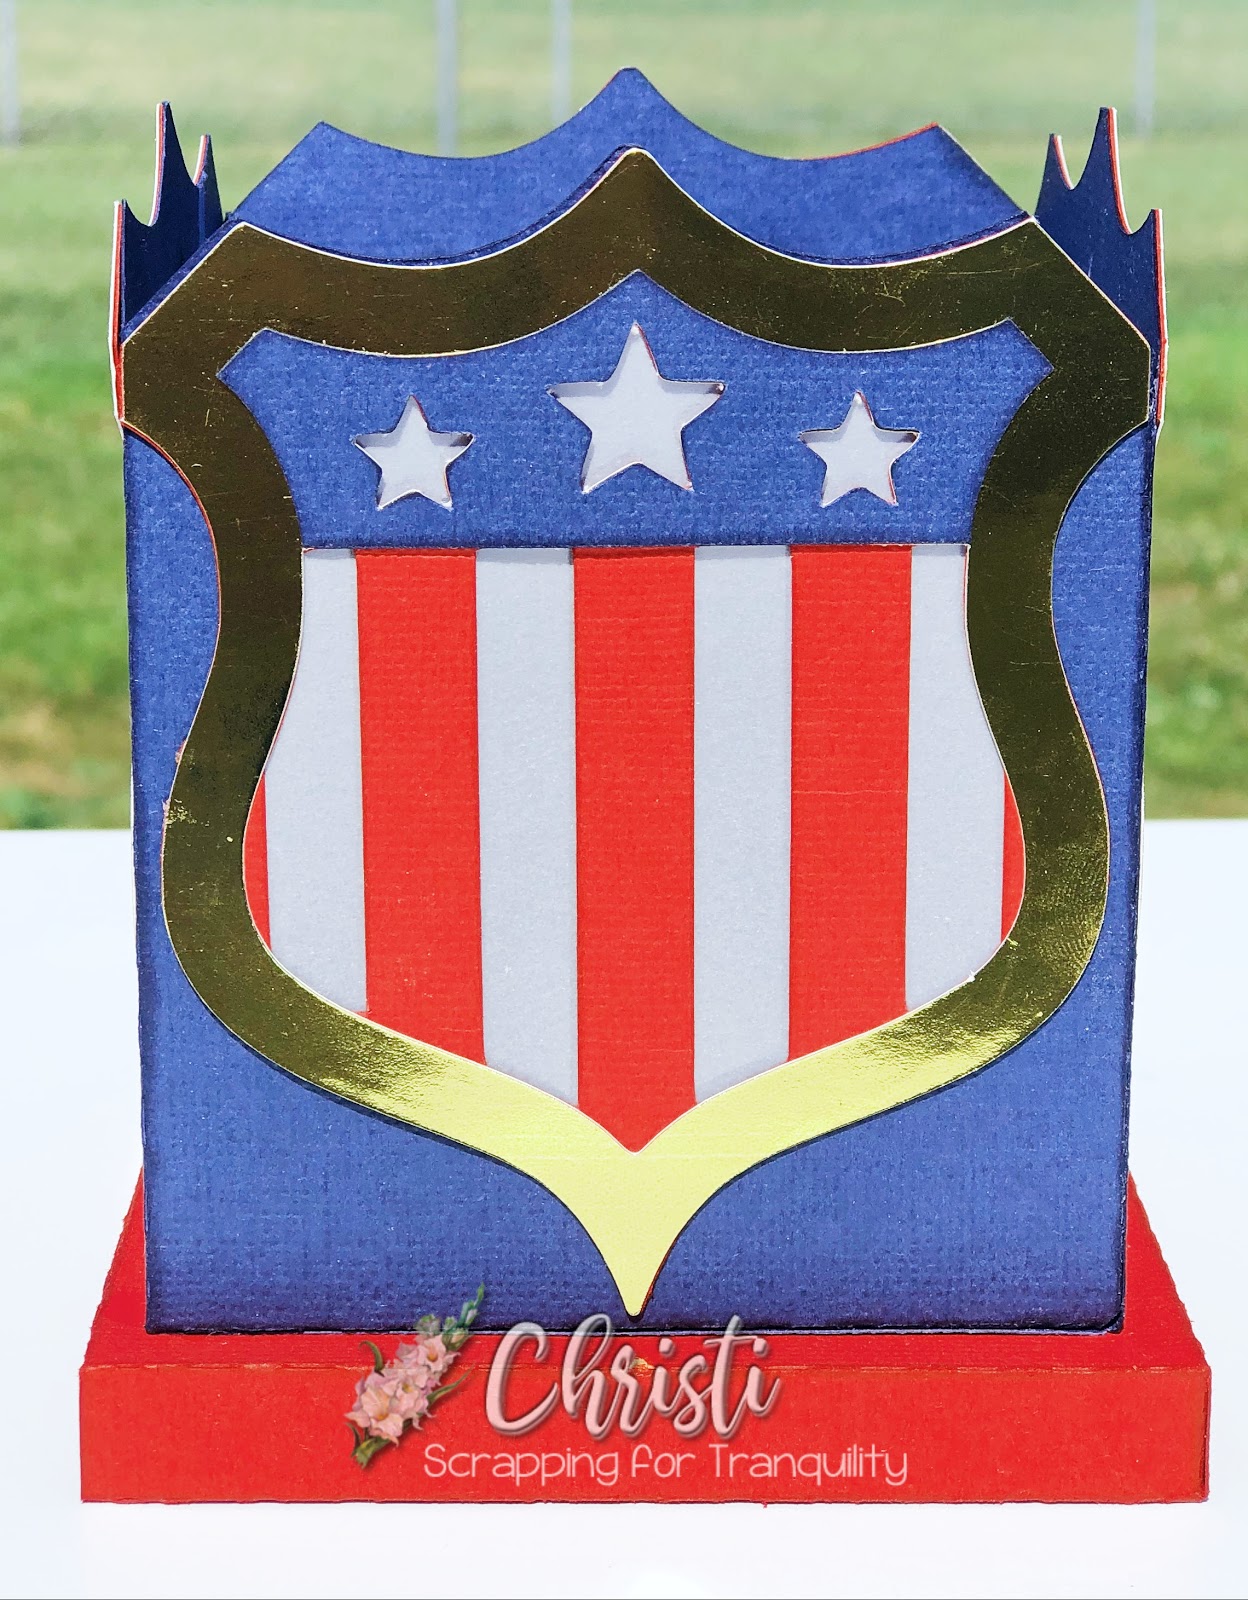
I then put glue on the bottom of my blue base holder so I can gently glue it to my red base that we made earlier. Eyeing it very carefully to make sure I have it even on all sides. Again, you can use your fingers or a ruler or anything that would gently help you hold these together and burnish them till they are dry and held together.
I hope you enjoyed my tutorial and please visit 12 X 12 Cardstock Shop for all your Cardstock needs.
-Christi
Recent Blogs
Featured Blogs
Categories
3D Paper Projects
4th of july
Acetate
Adhesive
American Crafts Cardstock
Baby
Back to school
Banners
Bazzill
Birthday
BoBunny
Cake Topper
Card Making
Card Templates
Cardmaking
Cardstock
Carta Bella
Christmas
Core'dinations Cardstock
Crafts For Kids
Cricut
Cricut & Silhouette Crafting
Cutting Tips
DCWV
Deisgn Team Member Monica Rodriguez
Design Team Member Amanda Lace
Design Team Member An Pham
Design Team Member Annie Chinoy
Design Team Member April Gonzalez
Design Team Member Cherie Dalton
Design Team member Christi Steinbeck
Design Team Member Joselyn Sierra
Design Team Member Kandce Johnson
Design Team Member Kandice Johnson
Design Team Member Kate Deignan
Design Team member Kathleen Eifert
Design Team Member Manasa Vavilapalli
Design Team Member Michelle Price
Design Team Member Naomi Krush
Design Team Member Pam Giles
Die Cutting
Dimensional Paper Projects
DIY
Doodlebug Designs
Dreaming Tree
Easter
Echo Park
embellishments
Encore Cardstock
Envelopes
Fall
Father's Day
Foil Cardstock
Foil Quill
From the Owner Lynette
Genealogy
Gifts
Glama Translucent Vellum
Glitter Cardstock
Graduation
Halloween
hat
Holographic Cardstock
Masculine Crafts
Memento Ink
Mini Album
Mirri Cardstock
Mother's Day
mulberry paper
Neenah Classic Crest
Neenah Stardream
New Years Eve
Paper Craft Tips
Paper Flowers
Paper Party Decor
Paper Piecing
Paper Tags
Paper Weight
Patriotic
Patterned Paper
Princess
Rubber Stamping
Scrapbook Layout
Scrapbooking
Scraps
Shaker Card
Silhouette
Simple Stories
Sirio Cardstock
Skin Tone Cardstock
Spring
St. Patrick's Day
Stamping
Summer
SVG
Teacher Appreciation
Technical Info
Teens
Thanksgiving
Tutorial
Valentine's Day
Vellum
Video
Wedding
Winter
Woodgrain Paper


Leave a comment